Block Paved Driveway Installation – Aylesbury
We recently completed a full block paving driveway makeover for a property in Aylesbury, and let’s just say… the difference is so dramatic the neighbours probably thought we brought in a whole new house. What started as a patchwork of broken concrete, stray gravel, and makeshift plastic grids is now a fully levelled, professionally installed, sharp-looking driveway that genuinely boosts the property’s value and usability.
Below is a breakdown of how we turned this uneven patch into a driveway that actually deserves to be parked on.
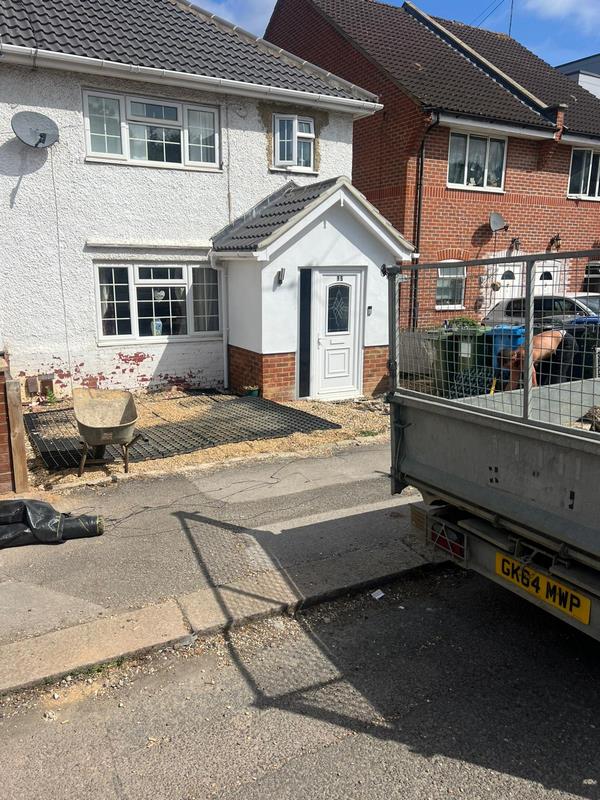
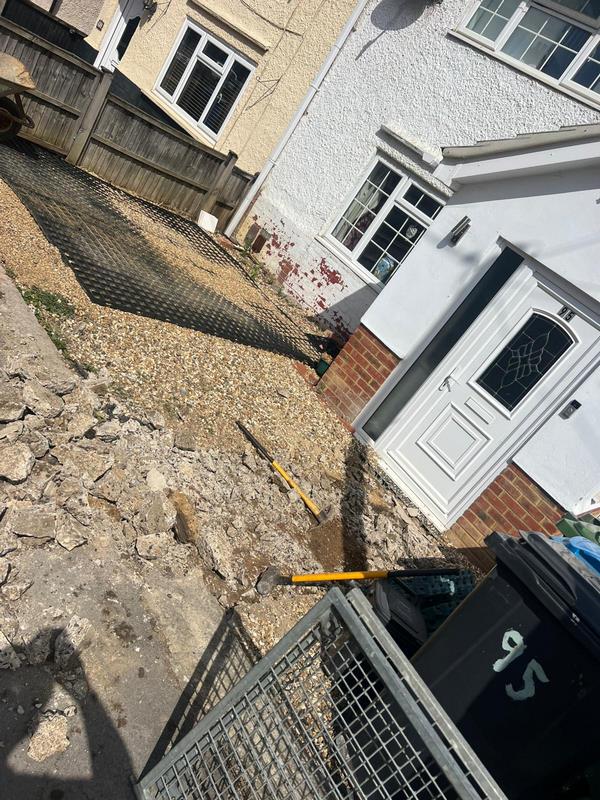
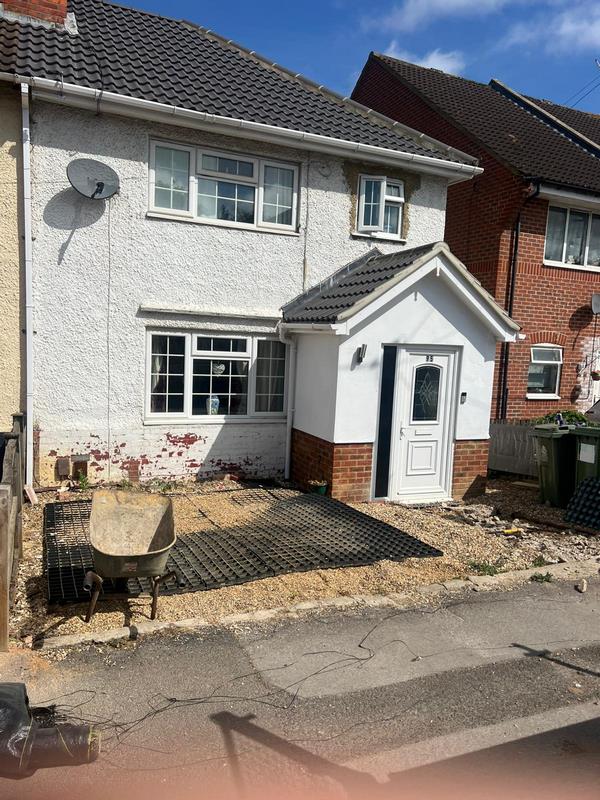
1. Initial Groundwork & Removal
Before anything pretty could happen, we had to deal with what was already there. This included:
Breaking out the failed concrete sections
Raking out the loose gravel and old grid system
Removing high spots and tidying up the uneven base
Clearing the surface so we could work safely and accurately
This stage is loud, dusty, and oddly therapeutic—and by the end, the ground was finally ready for proper preparation.
2. Excavation & Sub-Base Preparation
Next up was the serious stuff: excavation to the correct levels.
We dug down to formation level
Installed a geotextile membrane to prevent future sinking and weed intrusion
Laid and compacted Type 1 MOT to form a strong, load-bearing sub-base
Checked levels, falls and drainage to ensure water flows away from the property (not towards the front door, which is always appreciated)
The sub-base was compacted with a plate compactor until it was as solid as a Buckinghamshire roundabout.
3. Sand Bedding Layer
Once the sub-base was perfect, we spread and screeded sharp sand:
Levelled to a precise height
Screeded to give us a smooth, consistent bedding layer
Prepared ready for the block laying
This is where the driveway starts looking less like a building site and more like the first page of a home improvement magazine.
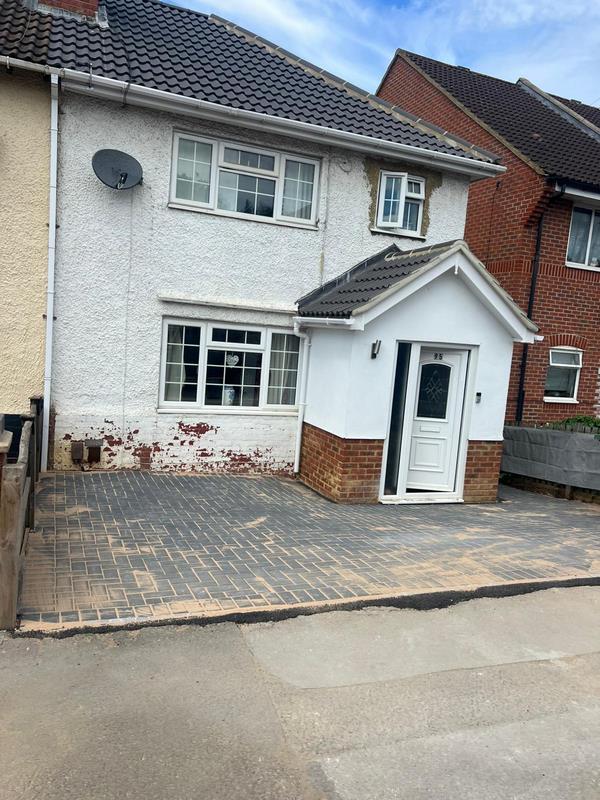
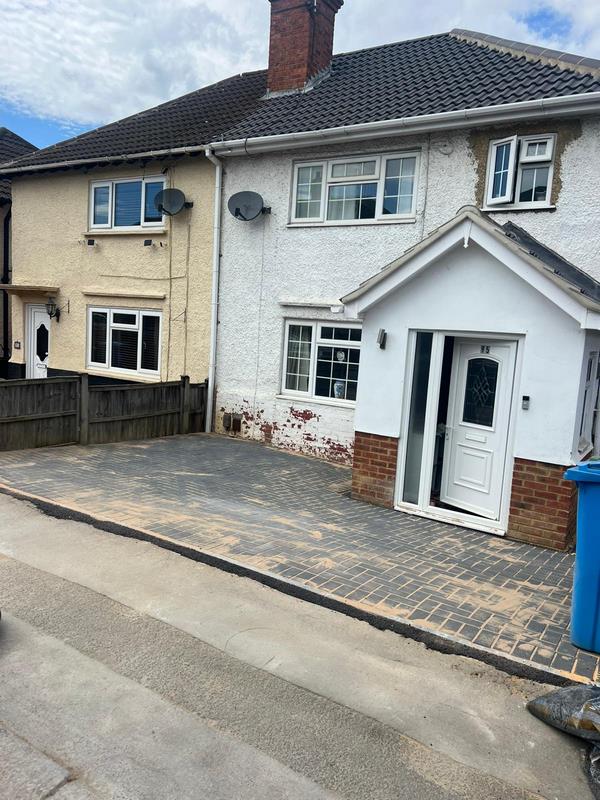
4. Laying the Block Paving
The customer chose a charcoal block in a 45° herringbone pattern, giving the driveway a modern but timeless look.
We:
Laid the blocks tightly and uniformly
Cut in edges cleanly against the walls, fences and boundary lines
Ensured every line, angle, and joint was exact
Herringbone is always a solid choice—stylish, strong, and excellent for distributing vehicle weight.
5. Edging, Finishing & Compaction
With the main field laid, we:
Installed edge restraints to lock everything in place
Filled joints with kiln-dried sand
Compacted the entire driveway using a vibrating plate to interlock the blocks
The result? A perfectly level, rock-solid surface ready for everyday parking (and for bins to roll across effortlessly on bin day).
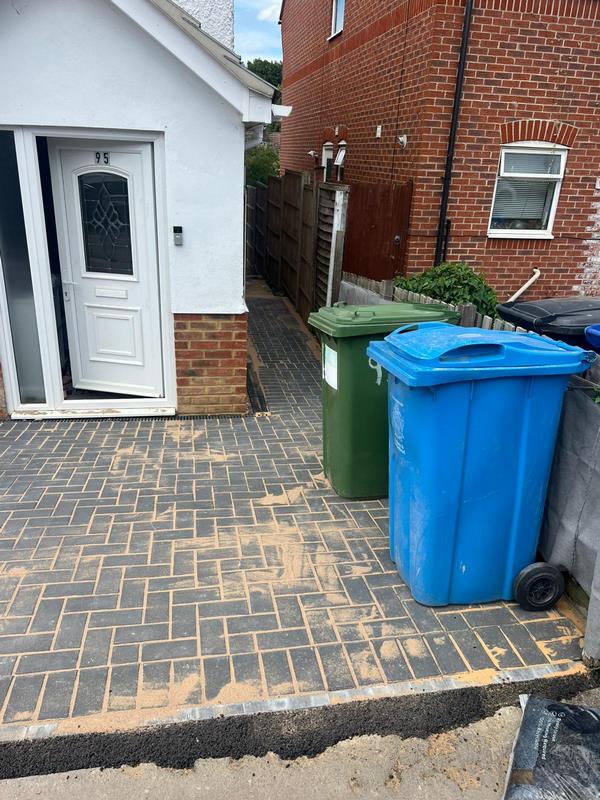
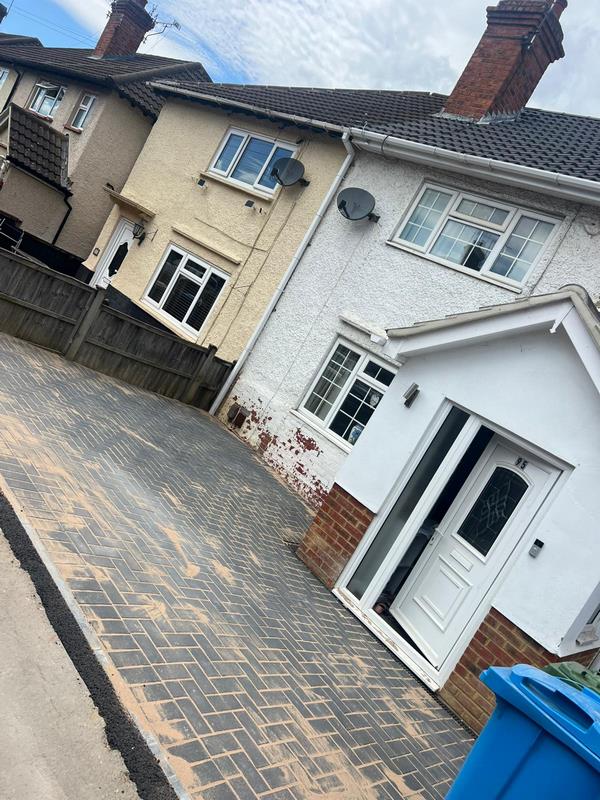
The Final Result?
From cracked concrete and scattered shingle to a sleek, durable block paved driveway, this Aylesbury home now has better kerb appeal, a cleaner, safer parking space and a long-lasting, low-maintenance surface!
The transformation is instantly noticeable—and a massive upgrade to the front of the property.
If you want your driveway to look like it belongs to the house you actually live in (and not the house before the renovation), we’ve got you.
46 Camborne Avenue
Aylesbury
HP21 7DY